|
Awkward Pose is incredible for your knees (not to mention your hips, ankles, butt, pelvic floor, abs and back!) but people with knee troubles often feel real uncomfortable (dare I say... awkward??) doing this one. The key is in the technique. Check it out: For more about Awkward Pose, click here.
Did these tips help you? Got a question? Plop a comment down below, we actually read them!
0 Comments
Possibly the biggest game-changer for your Pranayama Breathing is learning to synchronize the movements of your arms and head!
It ain't easy, but when you figure it out you will build strength and length in your neck, relieve tension in your shoulders, and best of all: feel more relaxed, taller and more powerful within just the first few minutes of your practice! Check out this video we made you with tips and demonstration - then try it in your next class!
Check out these posts for more on breathing:
No level of experience, strength or flexibility are required to safely attempt a Bikram yoga class! However, online classes are a bit of a tricky way to start, especially if you are a visual learner, mostly because it's difficult to see the other students. Our friends at Wellness Hot Yoga made this video to help new yogis have a better understanding of the postures, so you can feel better during and after your class! Thanks, WHY!! We hope this tutorial was helpful for you.
For more tutorials about specific poses, search the blog post archives for the name of the pose and click! Here are a few we especially recommend for beginners: The sit-up. It's not officially a yoga pose, but more of a transition move to get you from savasana to your next posture. Official yoga pose or not, correct sit-up technique can make a big difference, especially if you have back pain (or if you want to have amazingly strong abs!) From savasana:
Try it in class today. Book your next class!Diane Ducharme Gardner recently visited BYSJ and graced us with her wisdom, expertise and insight. Among the top "a ha" moments that students have been sharing they experienced at the workshop is this one: how to get into Camel pose! How do you know it's right? It works. For any body! Check out the video for the full demonstration of correct technique: The key you'll want to remember is: when you hear the instructor say "go back halfway and stop in the middle," that does not mean bend back.It means lean back halfway, using your strong thigh muscles, thereby decreasing the distance between your hand and the heel. If you approach the pose this way, almost anyone can grab the heels! Once you have the grip on the heels (and don't lose it) you can push everything forward toward the mirror, causing the back muscles to engage and bend your spine evenly, creating 360 degree angle backward bending. It feels so good when you do it right.Even better, Camel pose boasts numerous benefits for your life outside of the yoga room, including:
Depth in any posture is a result of correct technique and time.So it never matters how much you do, as long as you practice with consistent correct technique.
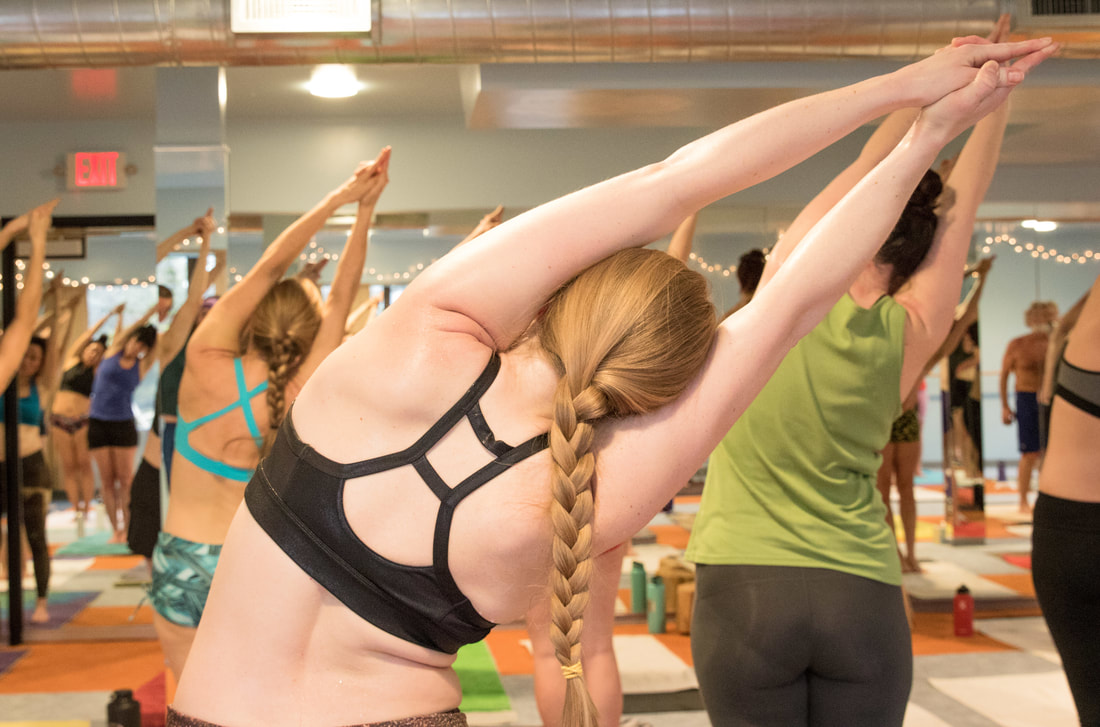
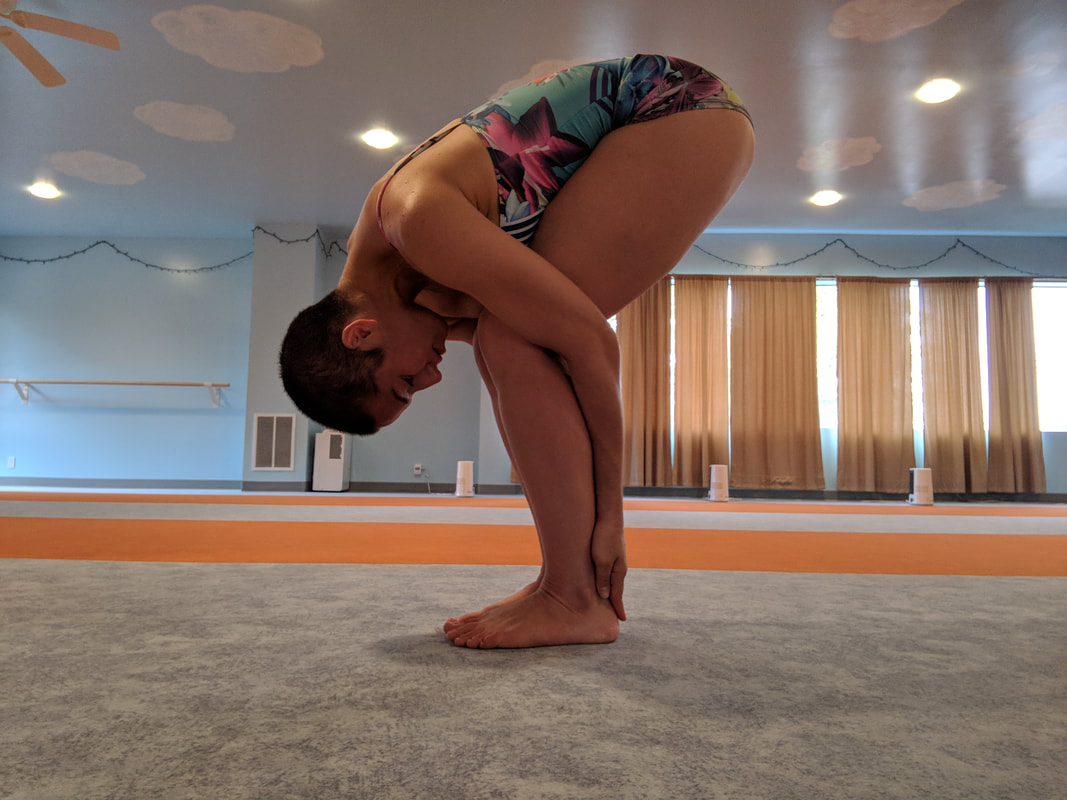
The beautiful thing about the instructions you hear in class is that they work for any body- stiff, flexible, injured, whatevs. But don't take our word for it. Now that you have seen a stellar example in the video, try following word by word with the correct technique in your next class! As the first posture in the Bikram yoga class, the job of Half Moon pose (ardha chandrasana) is to get your spine feeling out its range of motion in a bunch of directions, right off the bat. By stretching up out of your waist, then slowly bending your upper body to the right while pushing your hips to the left beyond your perceived flexibility, you will create an incredible stretch down the side of your body. This side-bending action either stretches or tones every muscle in the torso, increases the lateral flexibility of the spine, opens up the hips and trims the waistline. Oh, what a feeling- and then you get to do it to the left! TIP: Half moon is the very first posture in the class, so there's no need to push it super hard, especially in the first set! Your body is not quite warmed up yet, so "take it easy, honey." Remember that the first set of every pose is diagnostic- it helps you figure out where your body is in the present moment. Second set is therapeutic- based on what you discovered in the first set, you decide whether to push a bit further, or back off a little more. Your breathing is an excellent indicator of which way to adjust- if you really can't keep your breathing normal (like you're watching TV) then you've done too much! Back off.) Once we have stretched to both sides, the third part of Half Moon is backward-bending. Your instructor will warn you, "Your back is going to hurt, don't be scared!" PSA: That doesn't mean that if a part of your body screams in sharp pain, that we think you should push through it! Not at all. This statement is simply a "heads up" that it's normal for the backbend to be uncomfortable- or even "hurt," in the sense of "ouch, I don't usually use those muscles!" Backbending can be a pretty uncomfortable position at first. It requires you to simultaneously use a lot of strength in your legs, hips and back while also relaxing the neck and stretching the arms and shoulders back as far as you can. The challenge (and any "hurt") is worth it though, because this first backbend is unbeatable at warming up the back muscles and de-stiffening (that's a technical term!) your spine for class, while opening the heart and chest. Be sure to keep your eyes open, so you don't get dizzy. At this point you have moved your spine straight up, side to side, and backward. Next comes Hands to Feet pose (padha hastasana.) This forward-folding posture continues to stretch the spine while beginning to work on stretching the sciatic nerve, muscles, tendons and ligaments of the legs. TIP: If you can't grab your heels from behind, bend your knees and try wrapping your elbows behind your calves. Then hold the backs of your ankles and start to straighten out the legs, keeping your grip by keeping pressure with the palms against the ankles. Eventually, you may be able to grab underneath your heels- for now just get as close as you can! Besides the tremendous stretching, Padha hastasana also helps improve overall circulation to the legs, sends a nice rush of blood to the head, and strengthens biceps, lattisumus dorsi, quadriceps, hands and fingers. Always remember to keep your breath moving calmly, in and out of your nose- a smiling happy face can help. :)
|
AuthorHHY Founder, Yoga Business Coach, yoga-doer and life-lover, Kay Afif! Categories
All
|


 RSS Feed
