|
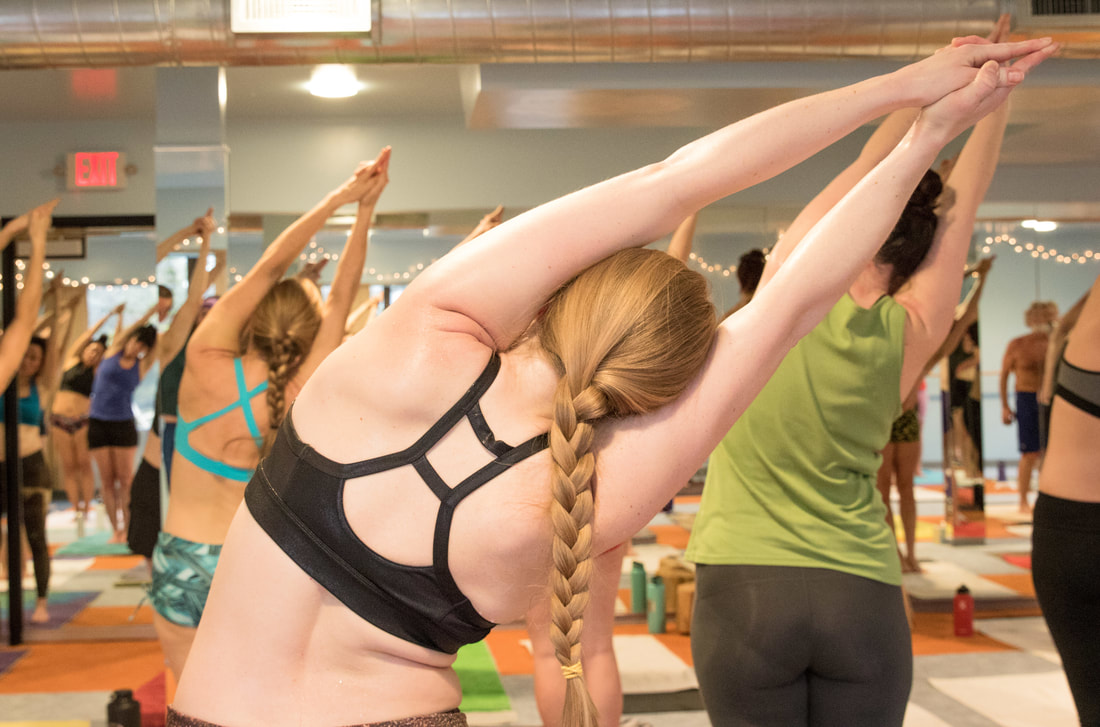
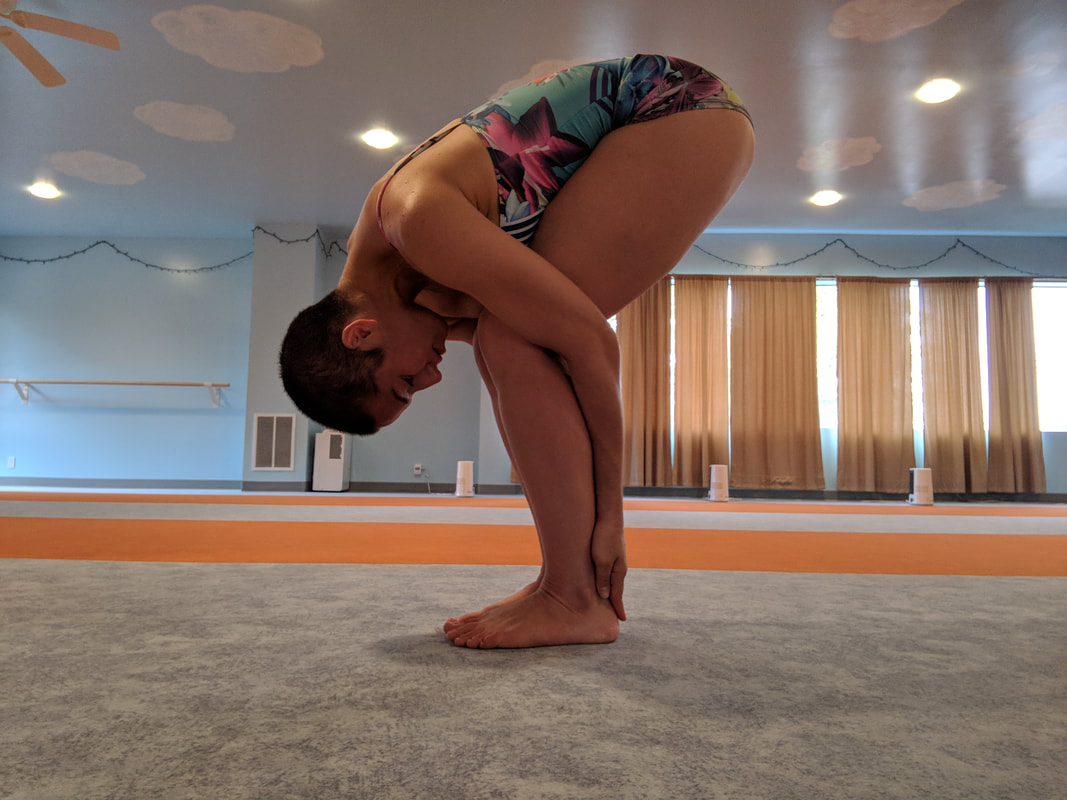
As the first posture in the Bikram yoga class, the job of Half Moon pose (ardha chandrasana) is to get your spine feeling out its range of motion in a bunch of directions, right off the bat. By stretching up out of your waist, then slowly bending your upper body to the right while pushing your hips to the left beyond your perceived flexibility, you will create an incredible stretch down the side of your body. This side-bending action either stretches or tones every muscle in the torso, increases the lateral flexibility of the spine, opens up the hips and trims the waistline. Oh, what a feeling- and then you get to do it to the left! TIP: Half moon is the very first posture in the class, so there's no need to push it super hard, especially in the first set! Your body is not quite warmed up yet, so "take it easy, honey." Remember that the first set of every pose is diagnostic- it helps you figure out where your body is in the present moment. Second set is therapeutic- based on what you discovered in the first set, you decide whether to push a bit further, or back off a little more. Your breathing is an excellent indicator of which way to adjust- if you really can't keep your breathing normal (like you're watching TV) then you've done too much! Back off.) Once we have stretched to both sides, the third part of Half Moon is backward-bending. Your instructor will warn you, "Your back is going to hurt, don't be scared!" PSA: That doesn't mean that if a part of your body screams in sharp pain, that we think you should push through it! Not at all. This statement is simply a "heads up" that it's normal for the backbend to be uncomfortable- or even "hurt," in the sense of "ouch, I don't usually use those muscles!" Backbending can be a pretty uncomfortable position at first. It requires you to simultaneously use a lot of strength in your legs, hips and back while also relaxing the neck and stretching the arms and shoulders back as far as you can. The challenge (and any "hurt") is worth it though, because this first backbend is unbeatable at warming up the back muscles and de-stiffening (that's a technical term!) your spine for class, while opening the heart and chest. Be sure to keep your eyes open, so you don't get dizzy. At this point you have moved your spine straight up, side to side, and backward. Next comes Hands to Feet pose (padha hastasana.) This forward-folding posture continues to stretch the spine while beginning to work on stretching the sciatic nerve, muscles, tendons and ligaments of the legs. TIP: If you can't grab your heels from behind, bend your knees and try wrapping your elbows behind your calves. Then hold the backs of your ankles and start to straighten out the legs, keeping your grip by keeping pressure with the palms against the ankles. Eventually, you may be able to grab underneath your heels- for now just get as close as you can! Besides the tremendous stretching, Padha hastasana also helps improve overall circulation to the legs, sends a nice rush of blood to the head, and strengthens biceps, lattisumus dorsi, quadriceps, hands and fingers. Always remember to keep your breath moving calmly, in and out of your nose- a smiling happy face can help. :)
0 Comments
|
AuthorHHY Founder, Yoga Business Coach, yoga-doer and life-lover, Kay Afif! Categories
All
|


 RSS Feed
