
|
Can you believe how much your thighs burn in this one? Or how hard it is to keep the straight leg from slipping? And then, the teacher seems to keep holding this posture forever! Good news: while Triangle is definitely challenging, it really doesn't have to be unbearable. Often, making one simple adjustment (such as the size of your step- see video above!) can completely change how much you love (or love to hate) a posture.
Triangle pose firms the thighs and waist, opens hips, and helps alleviate rheumatism, lumbago in the lower spine and frozen shoulder. Practicing this posture regularly helps correct chemical imbalances, relieves constipation, normalizes blood pressure and improves cardiovascular function. By exercising the circulatory, digestive, immune, reproductive, respiratory and muscular systems, Triangle pose targets and benefits every part of your body! (That's why it's often referred to as the "master posture" and... maybe that's why it feels like your teachers hold it forever.) Tips to remember:
Once your total foundation is in place, the next step is to move your both arms, making sure that the elbow is directly in front of the knee and the fingers are stretching down to touch between the big and second toe. Then turn your head and look up while stretching your arms in opposite directions. Simple, right? Ok, you got us: it's a tough one! Remember that all you have to do is try the right way. Do the best you can, breathe normally and hold absolutely still without moving. That's it. Enjoy..!! Want to learn more about the postures? Ask any of our certified Bikram yoga instructors, before or after your next Triangle pose. Attend class at least 2 to 3 times weekly to put your learning into action and make your body smile!
0 Comments
Dandayamana bibhaktapada paschimottanasana! This posture is not only the most fun posture to say the name in Sanskrit, but also a phenomenal stretch for your hamstrings, hips and spine. Because of the upside-down position, this pose provides increased circulation to the brain, nasal cavities and adrenal glands. It decompresses the spine, relieving pressure on the intervertebral discs and the spinal nerves (including the sciatic nerve) as well as having a pretty incredible effect on your cardiovascular system (see below...) Check out our video about how adjusting the size of your step can help you get the most out of this one: Have you heard of a baroreflex? "Baro" comes from the Greek baros, meaning pressure or weight. So the baroreflex is one of your body's mechanisms which helps maintain blood pressure at nearly constant levels. When you hang upside down in Standing Separate Leg Stretching, baroreceptors in your arteries sense that blood pressure to the head is elevated, and this starts a rapid feedback loop which causes the heart rate to lower and blood pressure to decrease to a more normal level.
Lower heart rate and lower blood pressure is associated with a calming sensation in the body, amirite? Which, if you think about it, means the placement of this pose in our series is simply genius! I mean, you just completed Balancing Stick pose, which got your heart beating out of your chest. And you're just about to do Triangle pose... But first, you get to do Standing Separate Leg Stretching, to bring your blood pressure and heart rate down, so by the time you hit Triangle you're operating on a much more even keel. Wow! What if you have sciatica? In this pose, a special consideration for those with active sciatica is that the feet should not be "slightly pigeon-toed." They should be parallel to one another, or even a little turned out. This takes pressure off the sciatic nerve during the pose. For tips (and videos!) on other beloved Bikram yoga postures, check out the following posts! Or simply search the archives for "Posture of the Month."
As the first posture in the Bikram yoga class, the job of Half Moon pose (ardha chandrasana) is to get your spine feeling out its range of motion in a bunch of directions, right off the bat. By stretching up out of your waist, then slowly bending your upper body to the right while pushing your hips to the left beyond your perceived flexibility, you will create an incredible stretch down the side of your body. This side-bending action either stretches or tones every muscle in the torso, increases the lateral flexibility of the spine, opens up the hips and trims the waistline. Oh, what a feeling- and then you get to do it to the left! 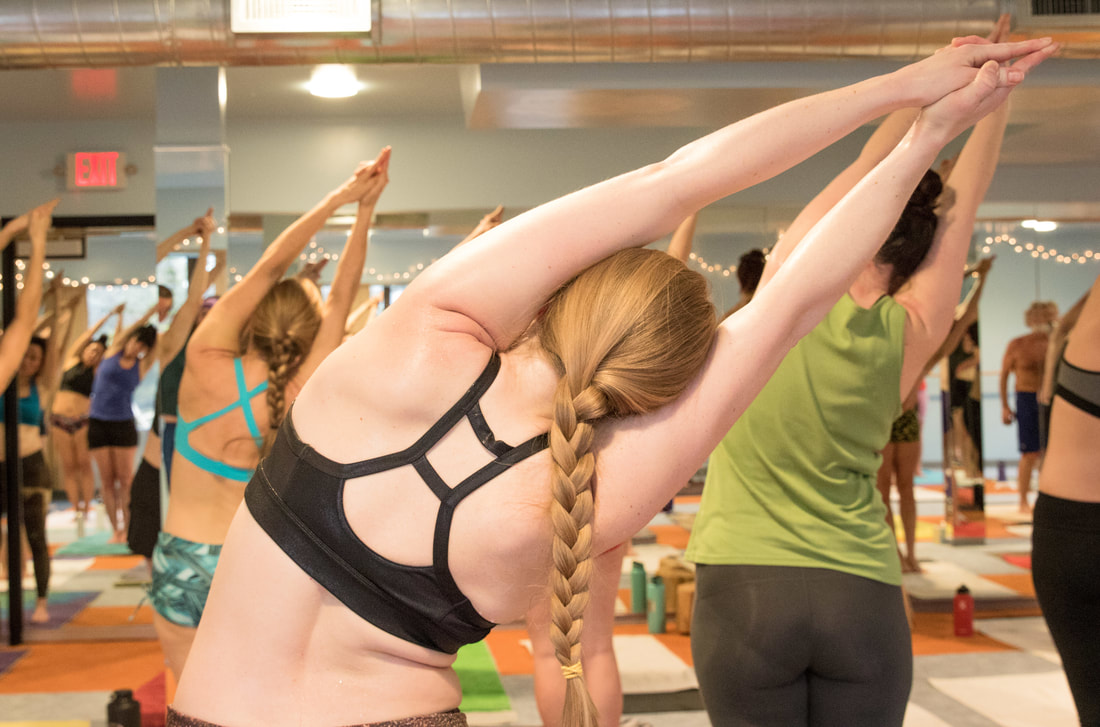 TIP: Half moon is the very first posture in the class, so there's no need to push it super hard, especially in the first set! Your body is not quite warmed up yet, so "take it easy, honey." Remember that the first set of every pose is diagnostic- it helps you figure out where your body is in the present moment. Second set is therapeutic- based on what you discovered in the first set, you decide whether to push a bit further, or back off a little more. Your breathing is an excellent indicator of which way to adjust- if you really can't keep your breathing normal (like you're watching TV) then you've done too much! Back off.) Once we have stretched to both sides, the third part of Half Moon is backward-bending. Your instructor will warn you, "Your back is going to hurt, don't be scared!" PSA: That doesn't mean that if a part of your body screams in sharp pain, that we think you should push through it! Not at all. This statement is simply a "heads up" that it's normal for the backbend to be uncomfortable- or even "hurt," in the sense of "ouch, I don't usually use those muscles!" Backbending can be a pretty uncomfortable position at first. It requires you to simultaneously use a lot of strength in your legs, hips and back while also relaxing the neck and stretching the arms and shoulders back as far as you can. The challenge (and any "hurt") is worth it though, because this first backbend is unbeatable at warming up the back muscles and de-stiffening (that's a technical term!) your spine for class, while opening the heart and chest. Be sure to keep your eyes open, so you don't get dizzy. At this point you have moved your spine straight up, side to side, and backward. Next comes Hands to Feet pose (padha hastasana.) This forward-folding posture continues to stretch the spine while beginning to work on stretching the sciatic nerve, muscles, tendons and ligaments of the legs. TIP: If you can't grab your heels from behind, bend your knees and try wrapping your elbows behind your calves. Then hold the backs of your ankles and start to straighten out the legs, keeping your grip by keeping pressure with the palms against the ankles. Eventually, you may be able to grab underneath your heels- for now just get as close as you can! 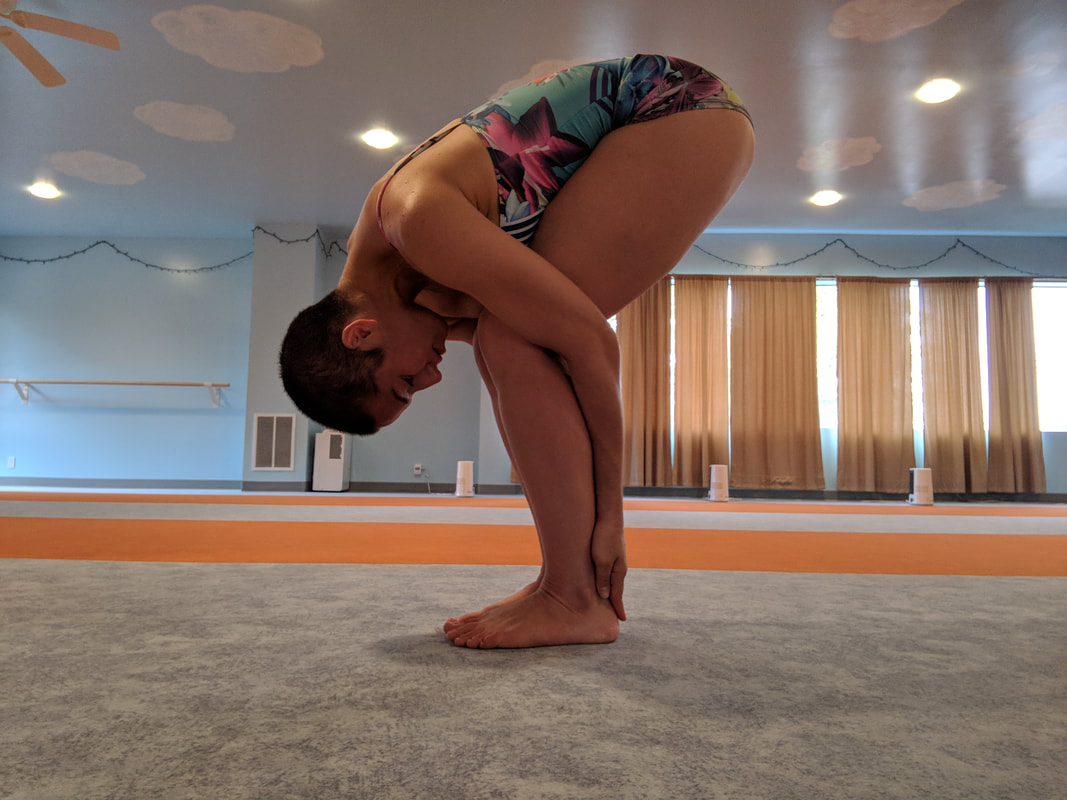 Besides the tremendous stretching, Padha hastasana also helps improve overall circulation to the legs, sends a nice rush of blood to the head, and strengthens biceps, lattisumus dorsi, quadriceps, hands and fingers. Always remember to keep your breath moving calmly, in and out of your nose- a smiling happy face can help. :)
 Q: What if my forehead will never touch my toes?
A: Short answer: it doesn't matter. If you've been to my class (or if you've been reading this blog) you've probably heard me say/write something like "the goal is not the real goal." So while the "goal" of this posture as we say it in class is to touch your head to the feet- really the real goal is what happens along the way, the effect you create in your body simply by trying the right way. In this posture, the real goal is 360-degree-angle stretching, coccyx to toes, coccyx to head. Q: Why do we grab the big toes only? I'd rather grab my feet! A: Grabbing just the big toes ensures you create the 360-degree-angle stretching. Here's how it works: Because your only grip is on the toe, you are forced to use the fronts of your legs muscles (quadriceps and shins) to flex the feet and get the heels off the floor. Contracting the fronts of your legs means the backs of your legs can truly stretch from coccyx to the toes. When you pull the toes with your heels off the floor and stretch your body forward from the lower spine, you also stretch your spine from coccyx to the neck, creating 360-angle stretching. If you grabbed your feet from outside or the top (though it might seem more comfortable!) you wouldn't get that stretch to the lower back. As is so often the case (sigh) the uncomfortable way is the right way! So grab your big toes. ;) The best way to learn any posture and experience for yourself the benefits it has to offer is to come to class on the regular (3-5 times a week is best) and make your body smile. Got other questions? Ask one of our certified instructors next time you are in for class- or drop us a line in the comments below! 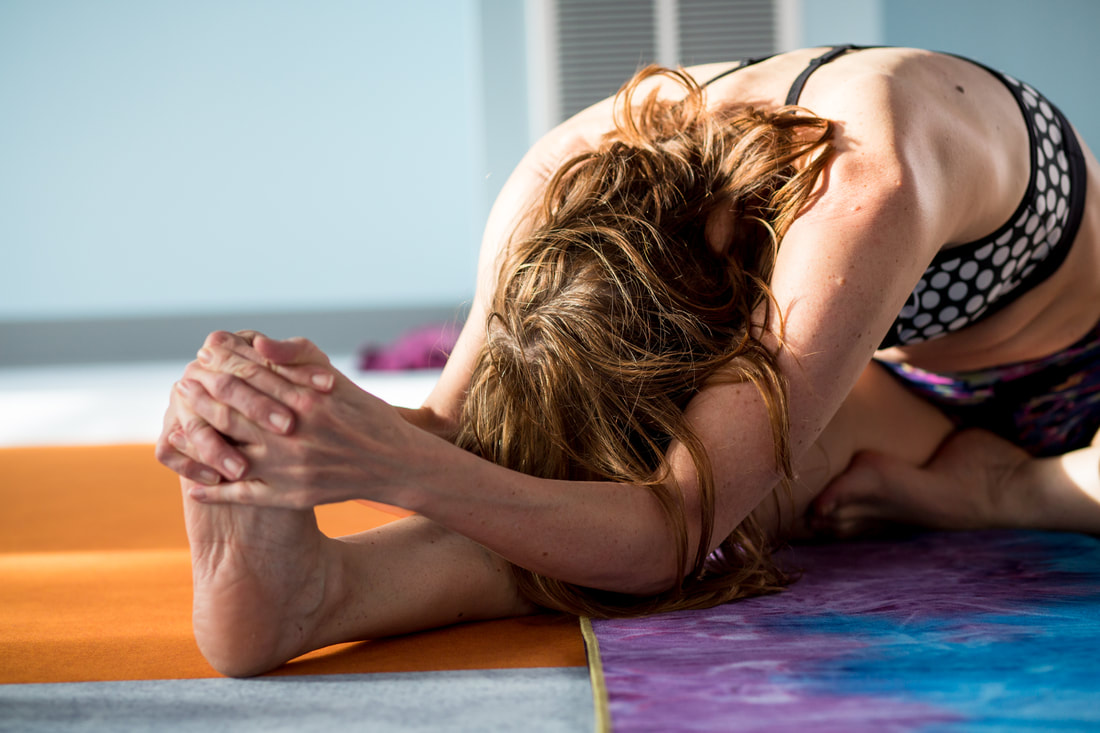 This posture comes toward the very end of every Bikram yoga class, paired with Stretching Pose/ Paschimottanasana. Together the two postures provide a lovely final stretch for the hamstrings, shoulders and back while improving circulation to the internal abdominal organs.
How to do:
Tips:
Among the many specific benefits of Head to Knee pose are:
Camel is great for so many things! Among its benefits are:
This is a posture where it's very normal, especially as a beginner, to feel dizzy, nauseous or emotional. The best thing to do is? Breathe. Immediately after you exit the posture, lie down in savasana (try to skip the water, handtowel, or whatever else you automatically reach for in that moment.) No worries, those feelings will pass- or you may even learn to like them! Backward bending this way is most likely a new sensation, and opening your chest, hips and throat can feel vulnerable. Here's a video Peter and I shot with our special guest teacher Audrey Holst. I asked Audrey if she had noticed any trends among our students in the way we are practicing, and together we agreed that Camel pose could use some attention to make sure you all are getting the goody mentioned above, without causing strain or pain. Enjoy, and please let us know if these tips are helpful for you! 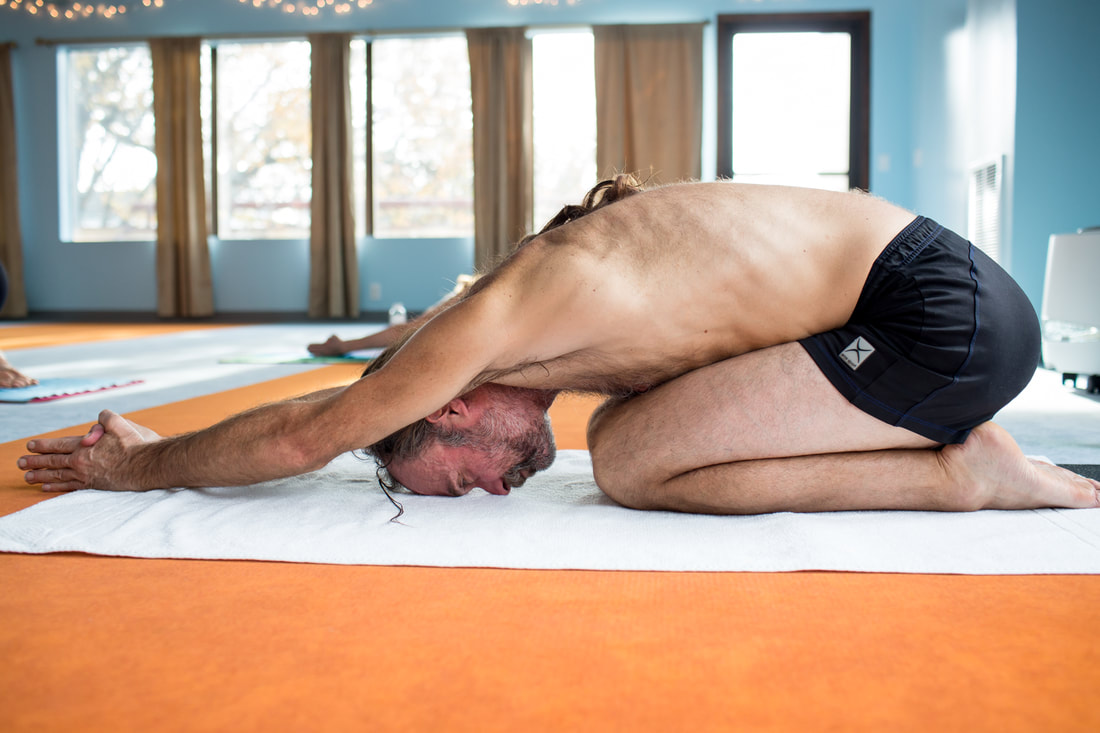 Half Tortoise pose provides maximum relaxation effect by getting your head below your heart, sending freshly oxygenated high-speed blood rushing into and around your brain. It's said that 30 seconds in this posture is as relaxing as 8 full hours of sleep!
Among the numerous benefits of Half Tortoise pose:
How to do: Sit down kneel-down position with your hips on your heels. Bring your arms over your head sideways, hands-palms together and cross your thumbs. Try to keep your hips on the heels throughout the posture. Exhale breathing and go down, arms and head together. Touch your forehead on the floor, the edge of your pinkie fingers on the floor, elbows locked. Stretch your arms forward so your shoulder blades come off the spine, still trying to keep your hips on your heels. Stay for about 30 seconds and stretch, breathing calmly in and out by the nose. Inhale breathing and slowly come up with your arms and head together. Relax on your back in savasana for 20 seconds. Tips:
|
AuthorHHY Founder, Yoga Business Coach, yoga-doer and life-lover, Kay Afif! 
Categories
All
|
 RSS Feed